How to Install the Facebook Pixel on a Website (Including Wordpress)
I’m excited to bring this tutorial to you today. Installing the Facebook pixel is one of the MOST powerful things you can do with Facebook advertising.
Note: I work with a lot of clients who are intimidated by the word “install.” That makes it sound like installing an air conditioning system or something. The good news is that, installing the Facebook pixel is nothing like that. If you can copy and paste, then you can install the Facebook pixel.
Why Install The Facebook Pixel
It’s absolutely vital that you install the Facebook pixel and make sure that you are using it correctly. That’s because the Facebook pixel gathers data from your site so that you can optimize your campaigns correctly.
For example, if you want to generate leads or sales you can install the Facebook pixel on your site and if the right bits of code are copy and pasted into the correct locations, then Facebook can TELL when someone has bought or has filled out a form. Then their algorithm will go out and find more buyers or form fillers for you!
It’s more powerful than most people realize.
The second thing that the Facebook pixel does is allow you to retarget your website visitors on Facebook. If you have someone who has taken the time to visit your website, but didn’t fill out a form or buy, then it can be VERY effective to advertise to that person again.
Retargeting lets you do just that. A person who visited and didn’t take action may still be interested and is probably MUCH more interested than someone who is “cold” to your brand. By putting another ad with the same or a slightly different offer in front of them you can increase your overall ROI.
Facebook Pixel Installation Guide
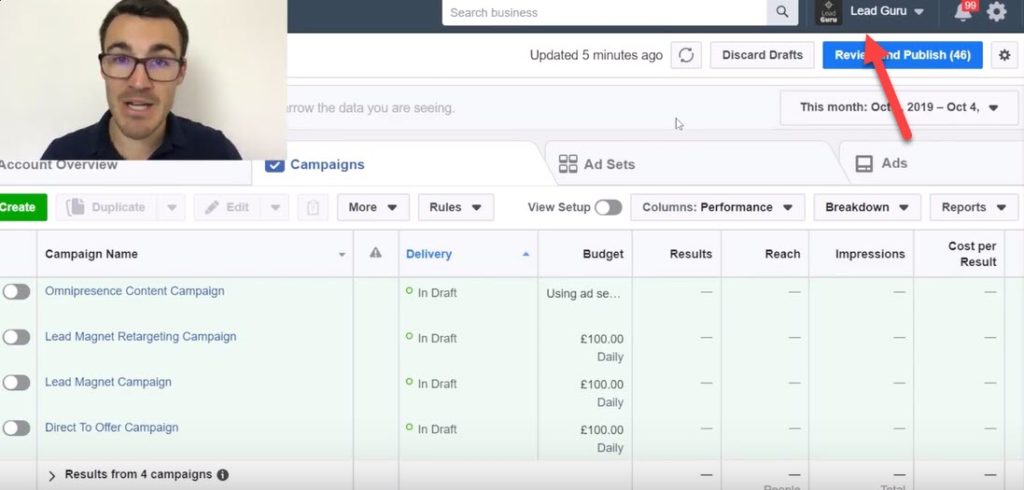
To get to your Facebook pixel information you will need to go to your ads manager account. If you don’t know how to get there, don’t worry. All you need to do is click the down arrow on the right hand side of your screen and click on “manage adverts” or similar language – they change it up sometimes.
To get to the pixel management you select the three lines at the top left of your screen and then click on “all tools” in the drop down box. Once there you can find pixels under “events manager.”
This will take you to where you can start setting up the pixel.
Don’t worry if your Facebook account doesn’t look exactly like this. If you’ve never used your Facebook pixel before it won’t be displaying data. That’s perfectly normal – you’ll have data soon.
No matter what screen you have, there will be set up button. Click it.
On the drop down menu from set up click install pixel.
Installing the Facebook Pixel Using Partner Integration
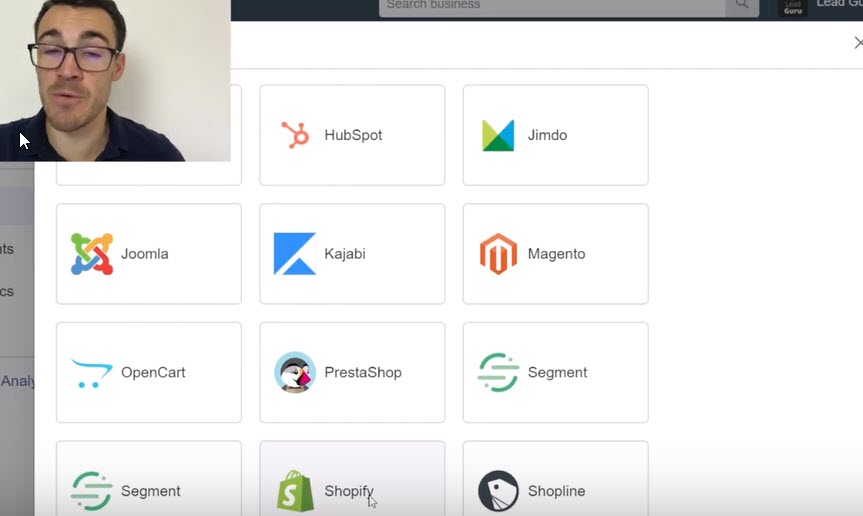
From here you’ll see “add code using a Partner integration.”
This works for many different types of sites including:
- Shopify
- Magento
- Kajabi
- Wix
- Singular
- Adjust
- Many more
If you’re using an option like this, then you can select from the list that’s provided and simply go through the steps that are presented. All of these options will automatically populate your website with the Facebook Pixel.
This works great, especially for ecommerce sites like Shopify. With the Partner integration, ecommerce platforms will automatically feed add to cart, purchase, and purchase amount data directly to Facebook and you don’t have to mess with any code at all.
If you have a platform like this, then go ahead and install the Facebook pixel by clicking on your platform. Just follow the directions that Facebook gives you, it’s very straightforward.
Installing the Facebook Conversion Pixel on WordPress
Many of you will either be using one of the integrations above or be using WordPress. Fortunately, installation on WordPress is very straightforward. All you need is a plugin and your pixel ID.
You will see your Pixel ID on the Pixel screen we started on. Just copy the string of numbers and you’ll be ready to go.
The next thing you do is come into your WordPress dashboard. And navigate to the plugins section from the left hand menu.
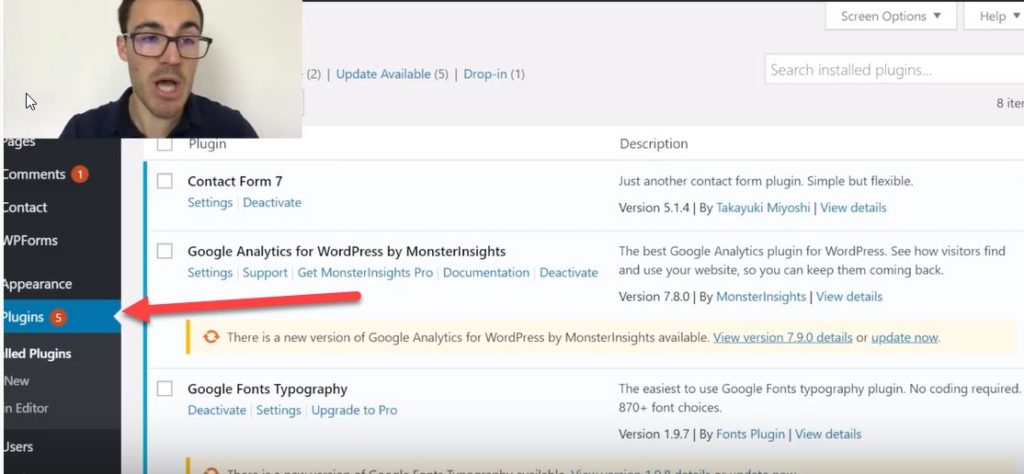
Once you are there click on “add new.” There are LOTS of options for installing the Facebook Pixel. I personally use Pixel Cat. It’s the one I’ve used for years. So you can search Pixel Cat and then press install now.
After you’ve installed the Pixel Cat plugin click activate.
You’ll find Pixel Cat on the left hand navigation bar. It usually shows up as “Facebook Pixel.” Click on it.
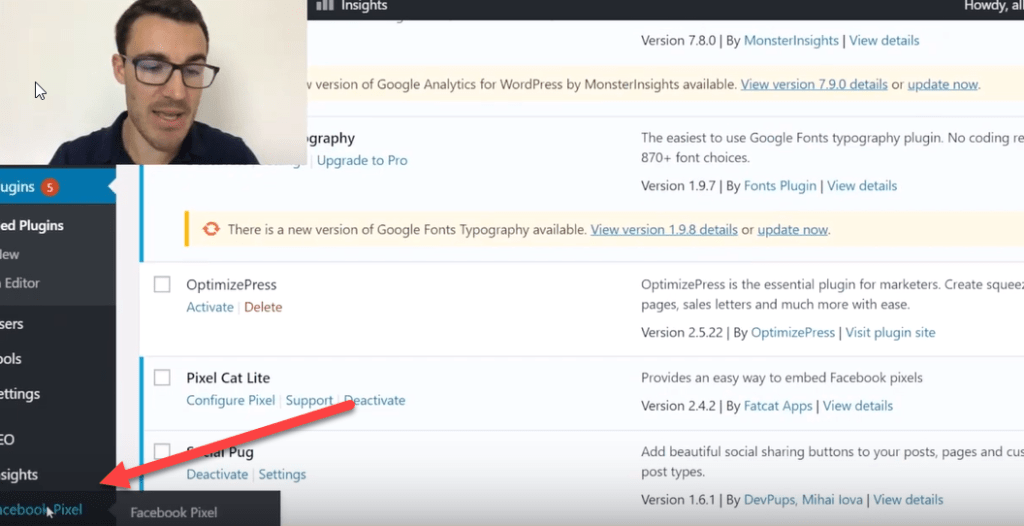
That brings you to this screen, where all you need to do is copy and paste that Facebook Pixel ID from earlier and click “add new.”
What this does is automatically install your base Facebook pixel on EVERY page on your website. That means you can track visitors to your entire site or to individual pages and retarget them.
But you don’t have to stop there!
You can go one stage further and set up event codes that allow you to create conversion campaigns where Facebook can track how many leads or sales you generate so that they can optimize to get you more of those events.
That’s where the event section in Pixel Cat comes in.
You’ll want to click on add new under events. Then you will start to fill out this form. This is the Pixel Cat event set up form.
Here’s how to fill it out:
- Use “page visit” here. There are some paid options, but you don’t need any of them.
- This is the URL where you want to put the event code that Pixel Cat will place for you. You want this to be the page AFTER the desired action. So if you are optimizing for leads, make this the thank you page after the form is filled out and submitted. (time 6:53 on the video below for more details)
- Select the event you are optimizing for here.
After you have this set up press save.
At this point you have everything set up that you need.
Important: If you want to track more events, you simply go back into Pixel Cat and add different events and URLs to the form.
There are lots of things to choose from, but the most common are lead, add to cart, and purchase.
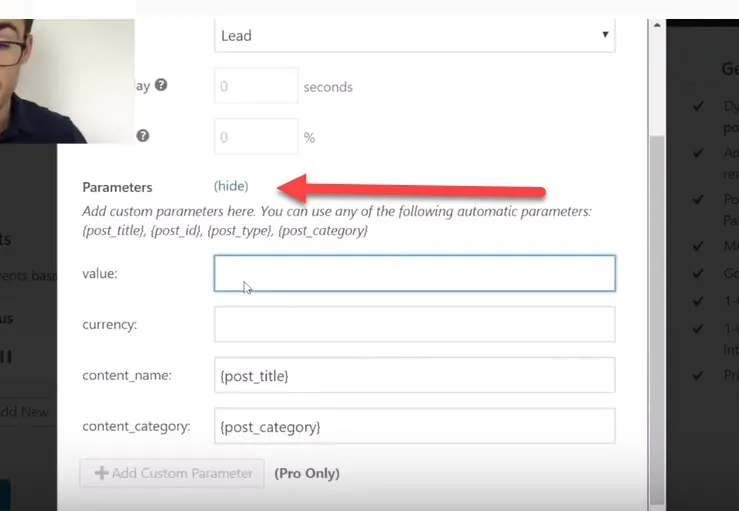
There is one more advanced technique with events that I want to mention.
You can go into your event section in Pixel Cat and unhide parameters. This lets you give a monetary value to each lead or sale. That value will then get reported back to Facebook so that you can see the value versus the cost of your ad spend.
That’s it. I told you it was easy! Now, onto the next step checking your work.
Check to Make Sure Your Facebook Pixel is Working Properly
If you don’t have it already, you will need to install the Facebook Pixel Helper as a Chrome extension. It’s completely free and will let you check your Facebook pixel installation quickly and easily.
Once you have it installed it will sit in your Chrome browser like this.
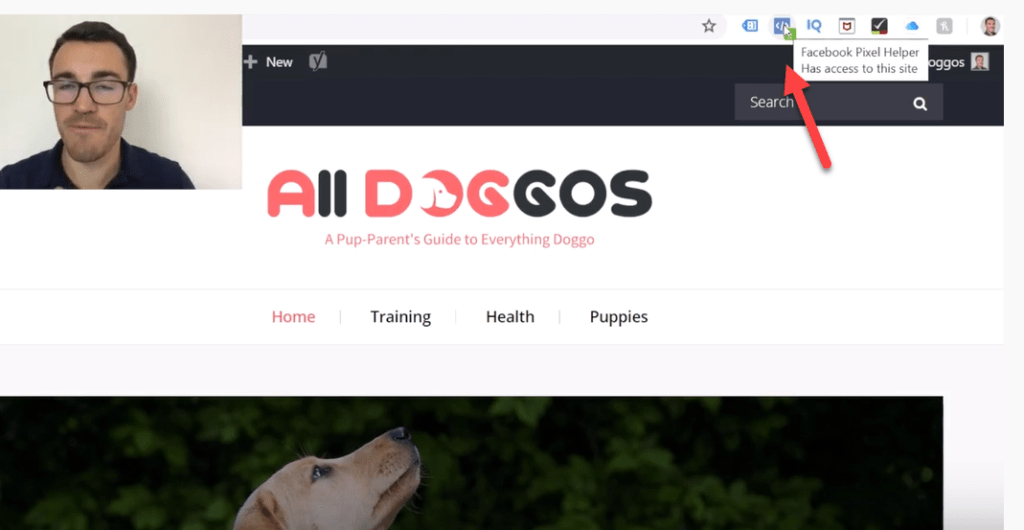
The Pixel Helper will tell you if the Facebook pixel is installed on the page you are on. So you want to go to your website with the extension installed and click on the extension in your browser.
You will see a drop down that tells you what events are being measured on that specific page. A green check mark means the pixel is installed and working. This page has the base code on it – which is the page view code.
Next, you want to check your event code. Navigate to the URL where you placed your event code in Pixel Cat and click on the Pixel Manager.
You should see two green check marks. One for page view and one for the event code that you installed – in this case leads.
If you’ve entered parameters for a specific page, then your Pixel Helper should look like this:
Facebook Pixel Guide Video Tutorial
Watch me install a Facebook Pixel step by step. At 6:53 in the video I go over in detail what page to use for an event set up. If you are confused by this, make sure you watch that section of the video.
The Bottom Line on Installing the Facebook Pixel
Installing the Facebook Pixel sounds intimidating when you are starting out with Facebook ads, but it’s actually easier than it sounds. It’s also extremely important to the success of your Facebook advertising journey, because it unlocks powerful optimization features.
If you can copy and paste YOU can install the Facebook Pixel.
CareySic
We can find out it?
——
https://avenue17.ru/
Logan
It’s amazing to visit this web site and reading the views of all friends regarding this piece of writing, while I am
also keen of getting knowledge.
my page wireless charging phones
Jeramy
Hi there, I log on to your blogs regularly.
Your story-telling style is witty, keep doing what you’re
doing!
my web-site; https://cuocsongquanhta.webflow.io/posts/thuoc-giam-can
Odell
It’s in reality a great and useful piece of information. I’m satisfied that you just shared this useful information with us.
Please stay us informed like this. Thanks for sharing.
Feel free to surf to my homepage: connect mac to smart tv
Clarita
Howdy would you mind sharing which blog platform you’re working with?
I’m going to start my own blog in the near future but I’m having a difficult
time selecting between BlogEngine/Wordpress/B2evolution and Drupal.
The reason I ask is because your design seems different then most blogs and I’m looking for something
unique. P.S My apologies for getting
off-topic but I had to ask!
Also visit my site: iphone earphones
DavidBal
индивидуалки челябинск
Blythe
I enjoy what you guys are up too. This sort of clever work and exposure!
Keep up the great works guys I’ve included you guys to blogroll.
Look into my webpage raverb