How to Increase the Value of Website Visitors with Facebook Live Chat
Wondering how to drive more leads and sales online? Want to increase your website’s conversion rate? In this article, you’ll discover how to use Facebook live chat to start a conversation with your website visitors and significantly increase your conversion rate.
Increasing Website Visitor Value
All digital marketers want more website traffic, because more website traffic usually leads to more revenue. But generating more website traffic can be difficult, costly and time-consuming.
If your ultimate objective is more revenue, it can be a lot quicker and easier to focus on increasing the amount of revenue you generate from the website visitors you already have instead.
Starting a conversation with your website visitors is a very effective way to do that. Your website visitors almost certainly have questions about your products and services. Answering those questions undoubtedly helps boost sales.
Very Effective for High-Ticket Sales
Talking to website visitors is particularly effective for businesses that sell high-ticket services or expensive products. The more expensive your products and services are, the more of a considered purchase they become.
Your prospects may have many objections that need to be overcome before they are ready to make a purchase. Information on a sales page or FAQ section probably won’t do the job as well as a sales person can via Facebook Messenger. With more expensive products and services it’s also easier to justify the added expense of sales staff or the time required if you’re going to handle it yourself.
Over the past 3 months I have been experimenting with this strategy with a number of my clients that have high-ticket offers. It has performed very well and more than justified the extra effort. On that note, let’s get into the steps:
#1 Open an Account with Zotabox
Using Facebook Messenger as live chat on your website is quite straightforward with Zotabox.
The first step is to open an account. Whilst they do have premium features, you can open an account for free:
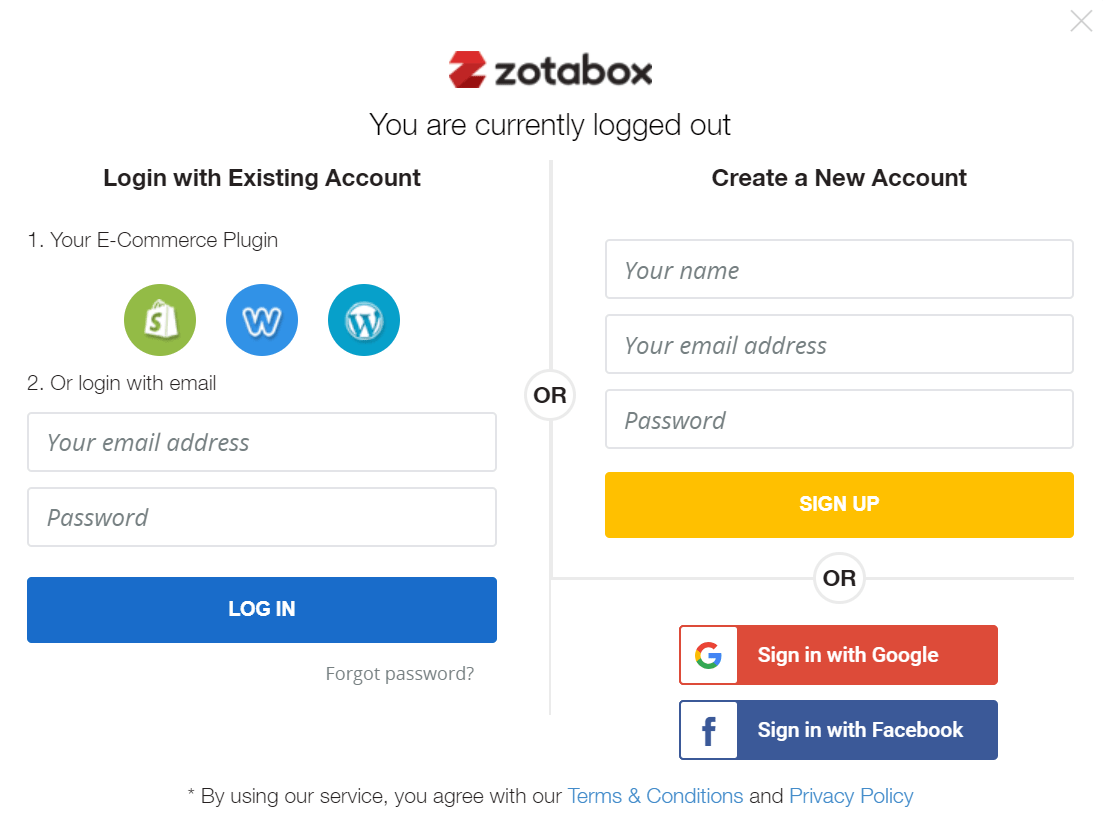
As you can see there are a few different ways to create a new account. But for this strategy, signing up with Facebook makes a lot of sense.
Fortunately for us marketers, Zotabox integrates with most of the leading website providers and ecommerce platforms:
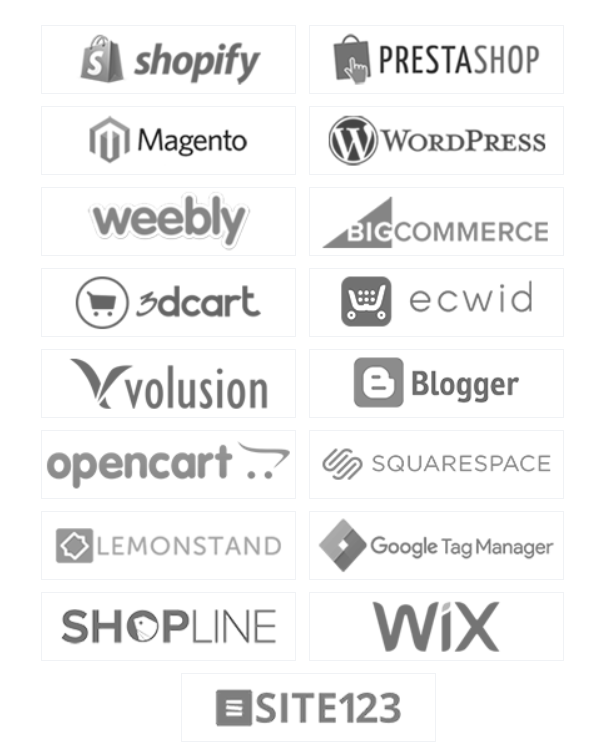
However, as WordPress websites are more common than any other type, I’m going to focus on that integration for the rest of this article.
#2 Edit Facebook Live Chat
Once you’ve opened a Zotabox account and logged in, you will be taken to your dashboard:
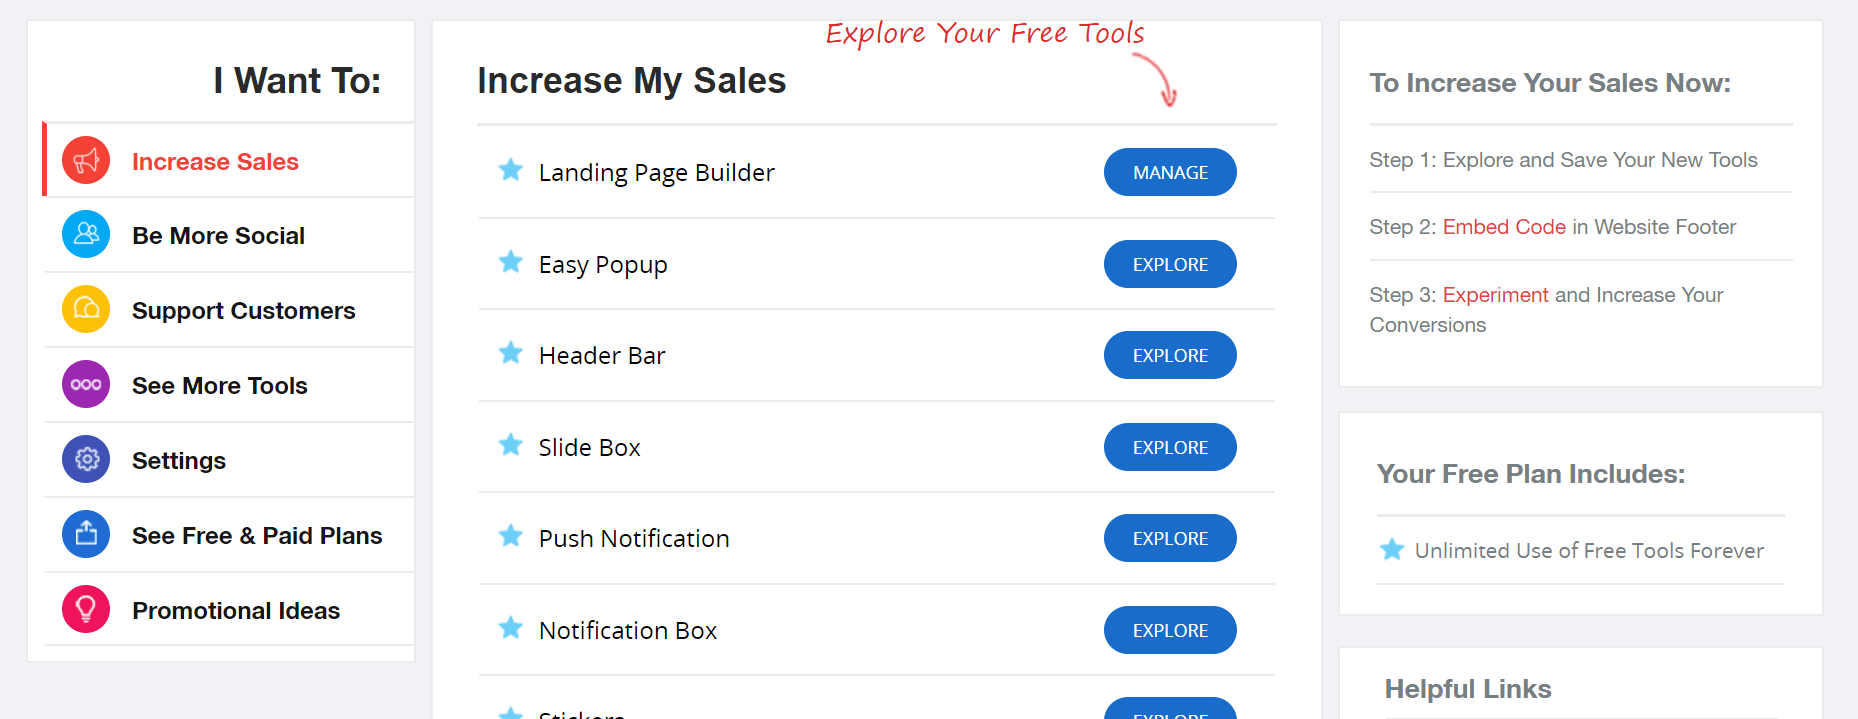
As you can see Zotabox offer a number of awesome tools that I would encourage you to explore. To use Facebook Messenger as live chat on your website, select Support Customers from the menu on the left:
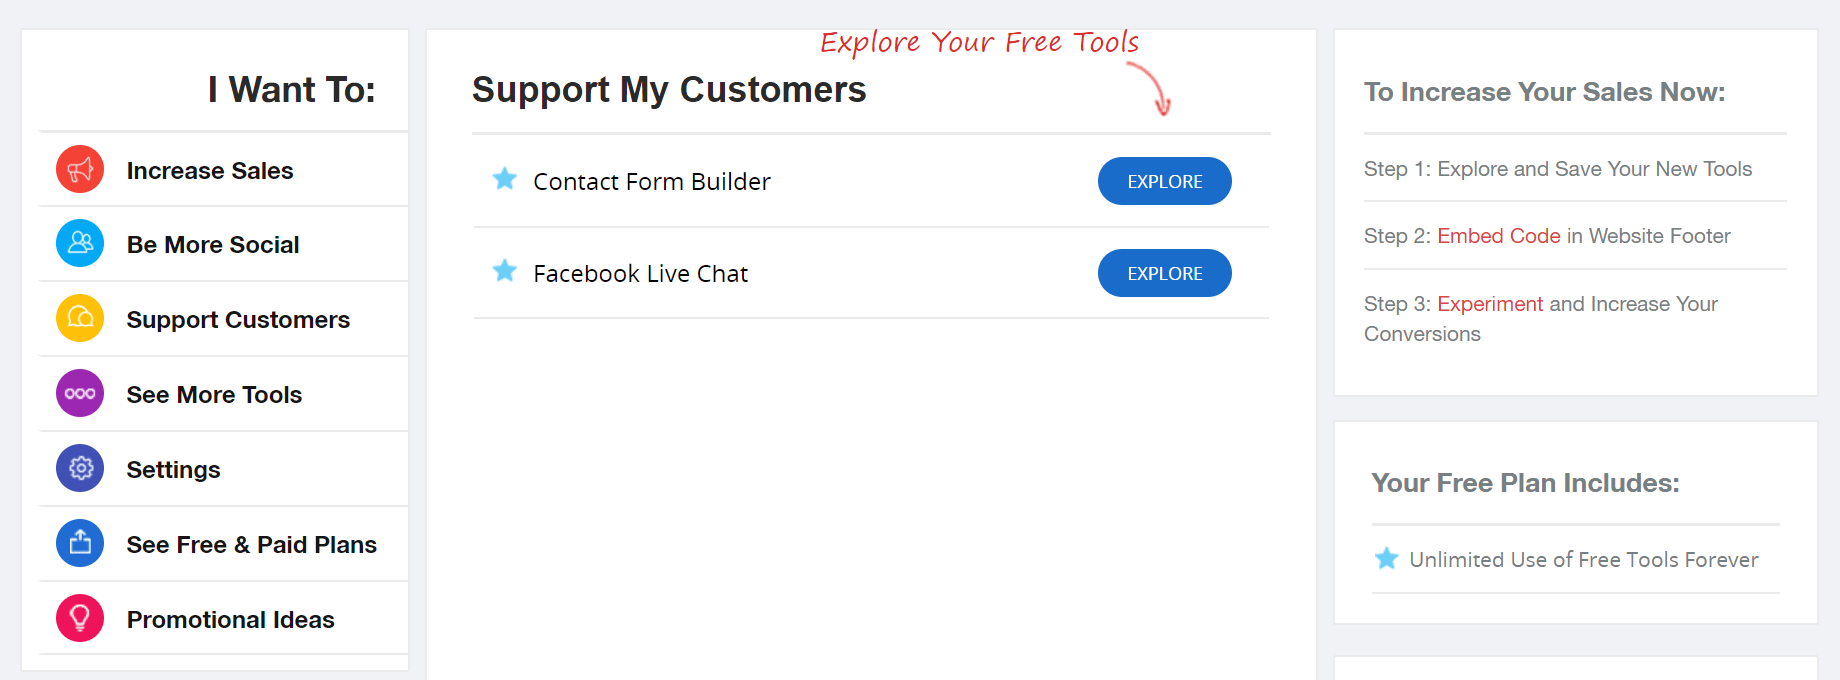
Click Explore next to Facebook Live Chat and you will be taken to this page:
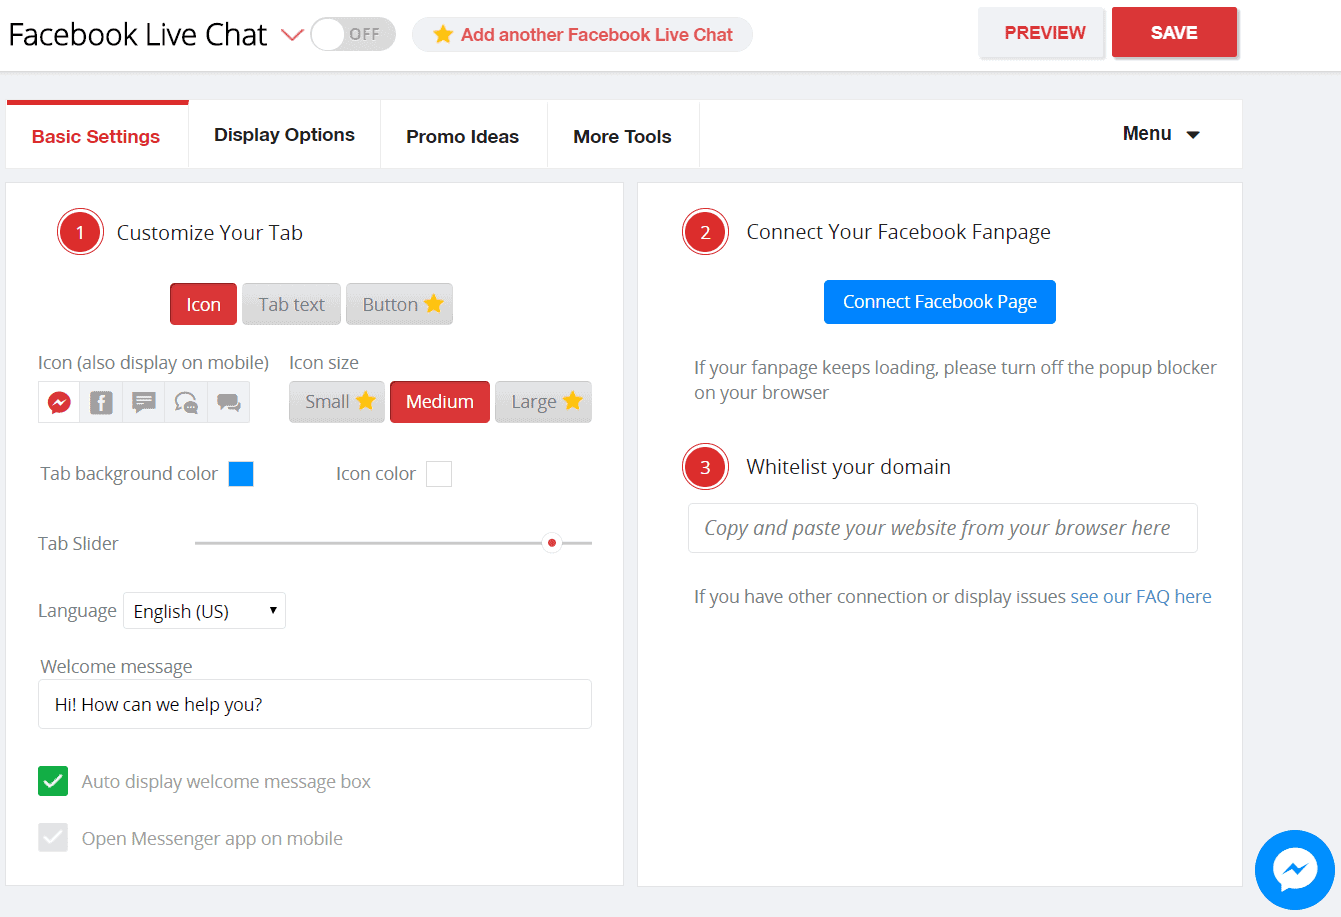
Here there are a few different options to choose from. You should also be aware that anything with a star alongside it is a premium feature.
The first thing to decide is how you would like the Facebook Live Chat tab to appear on your website. In the bottom right corner of the screen you can click the Messenger icon to see a preview. Feel free to have a play with these options. I have previously just used the defaults as I think they look pretty good, and people will recognise what this is when it pops up.
After that you need to set your Welcome message and decide whether or not you want the welcome message to automatically pop up.
What you use here will depend on your business and the tone you want to convey. I would recommend that you use a welcome message that is short enough to avoid being cut off when the welcome message pops up.
I would also recommend that you leave the Auto display welcome message box checked. That is going to help you start more conversations with your prospects. And as I’ve mentioned above, the more conversations you start, the more valuable your website visitors will become.
#3 Connect Your Facebook Page
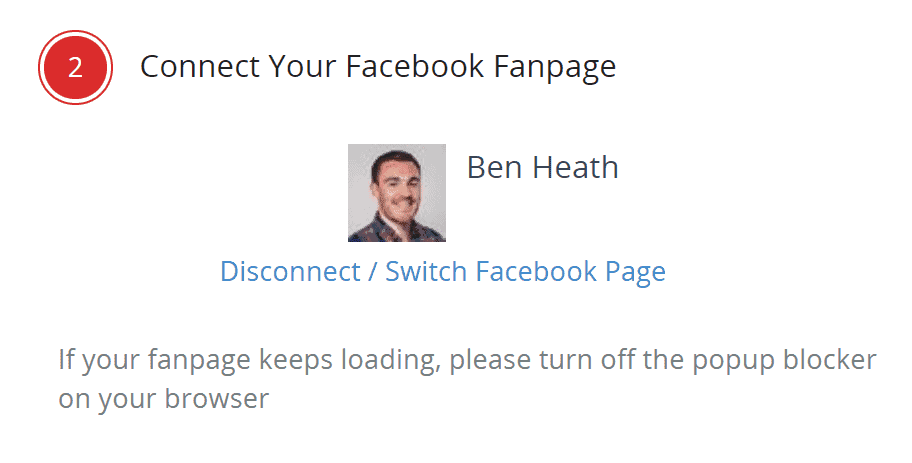
The next step is to connect your Facebook Page. Simply click the blue button and follow the steps. You will be asked to login to your Facebook account and select the Facebook Page you would like to connect.
A quick and simple step, and once you have done it, you should see your Facebook Page here:
#4 Whitelist Your Domain
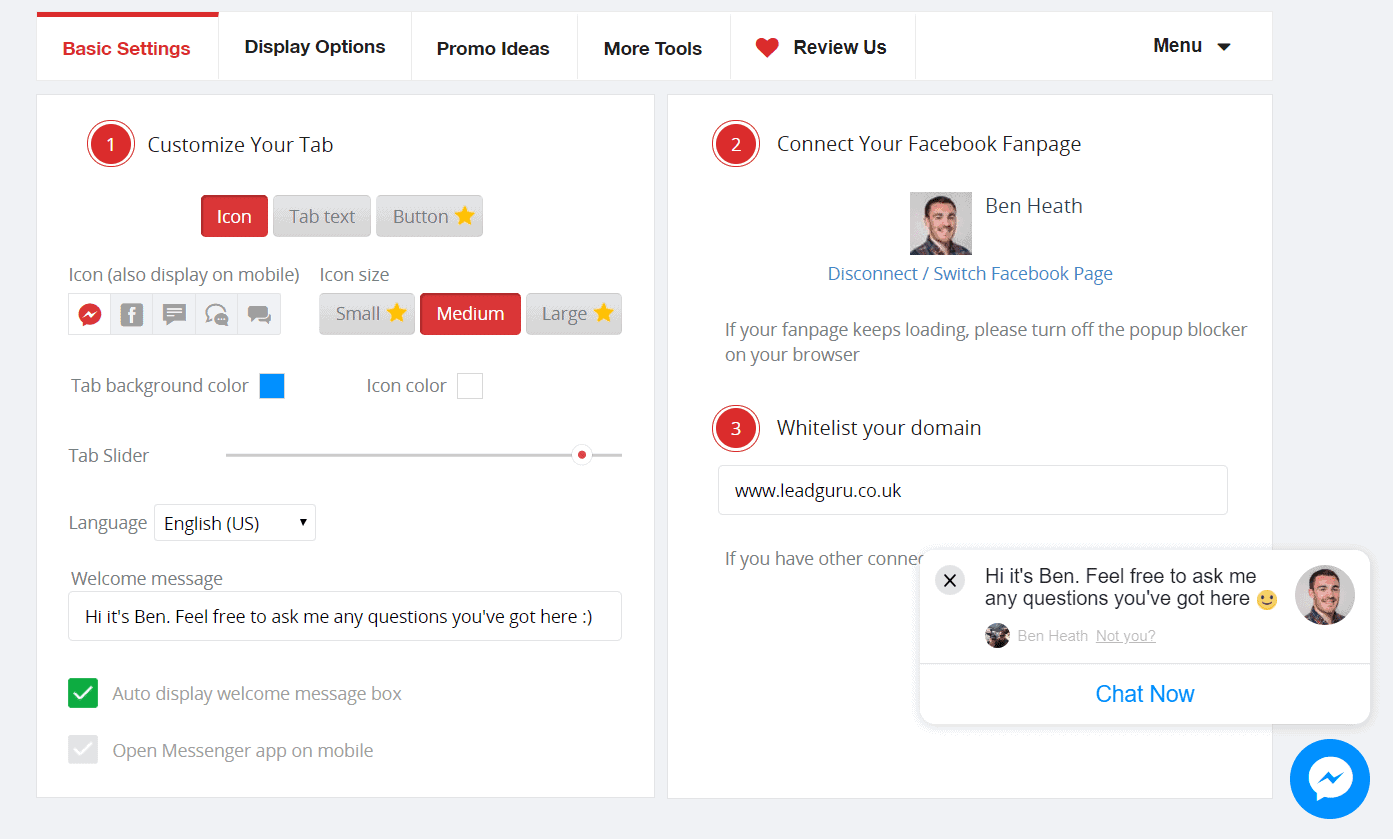
Before we move onto the website installation, it’s worth taking a second to enter your domain name into the whitelist your domain textfield.
Once you’ve done that, your screen should look something like this:
#5 Install & Activate the Zotabox Plugin
We’ll leave Zotabox for a minute and head into your WordPress website so that you can install and activate the plugin.
Once you’ve logged in and navigated to your WordPress dashboard, select Plugins from the menu on the left side of your screen and select Add New.
Then type Facebook Live Chat into the search bar:
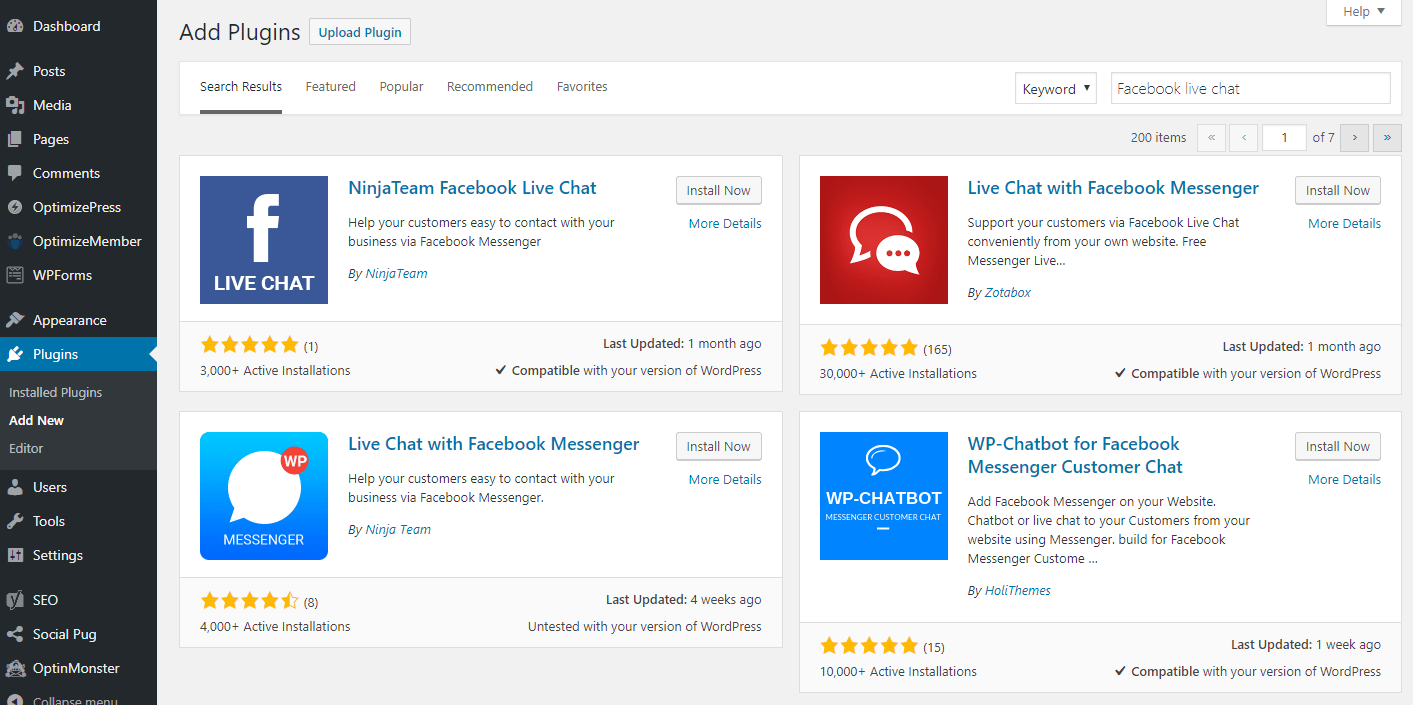
Click Install Now on the 2nd option in the results above, the one with the red icon, by Zotabox. Then once the Install Now button has changed to Activate, select that.
The FB Live Chat plugin will then be automatically added to the menu on the left of your screen. Click on that and enter your website and email details:
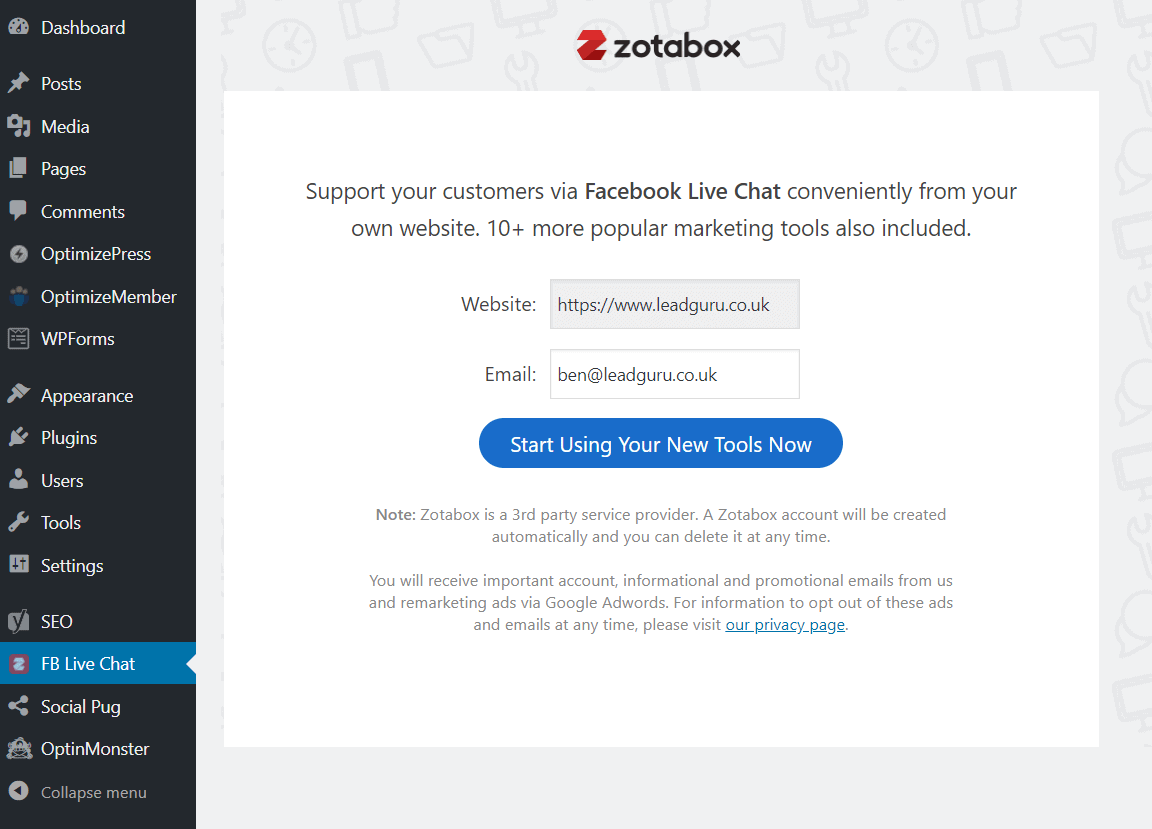
You don’t need to click the Start Using Your New Tools Now button as you’ve already created a Zotabox account and set up the Facebook Live Chat tool.
Now you need to head back into Zotabox and set your display options before turning the tool on.
#6 Set Your Display Options
Log back into your Zotabox account and navigate to the Facebook Live Chat tool. Then select Display Options:
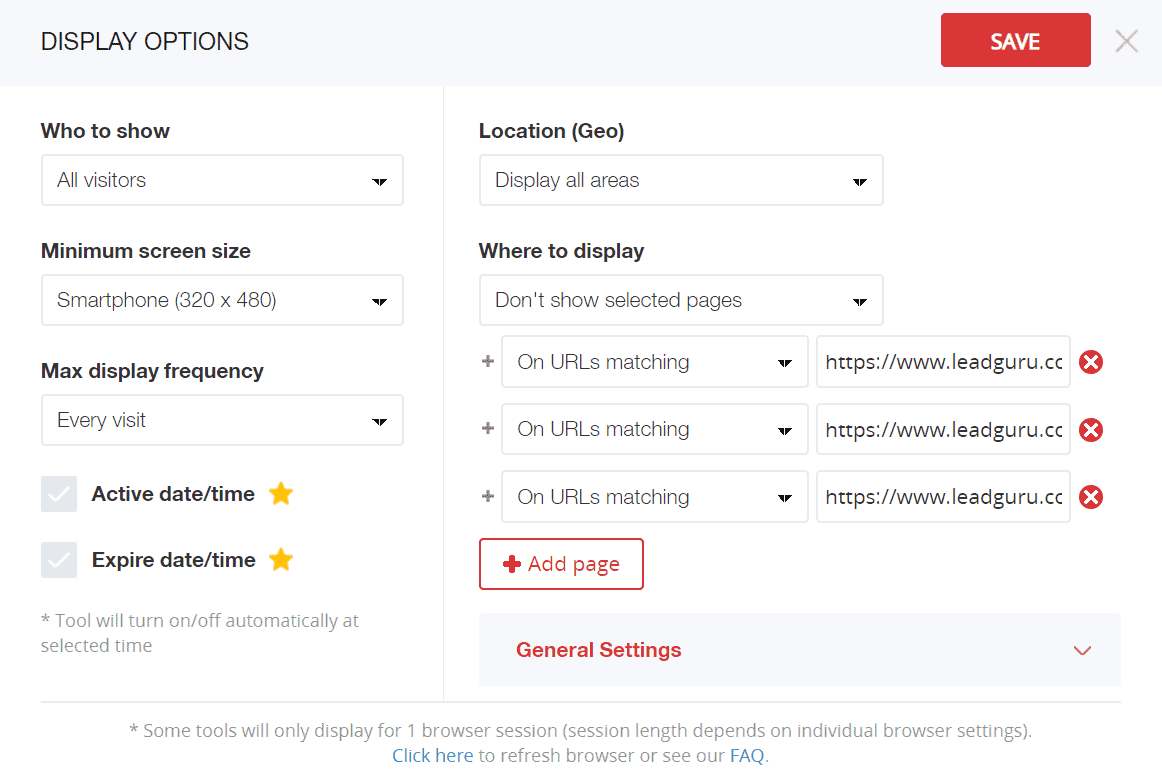
Here there a number of settings to choose from. A lot of the more advanced options are premium features, but not all.
The first thing to decide is who should be shown your Facebook Live Chat tool from the menu below:
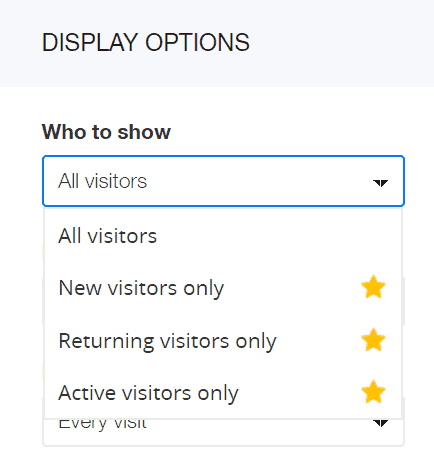
If you have a lot of website traffic, then you may want to select one of the premium options, but I think most people should stick with All visitors.
Then you can choose the minimum screen size you would like this tool to display on:
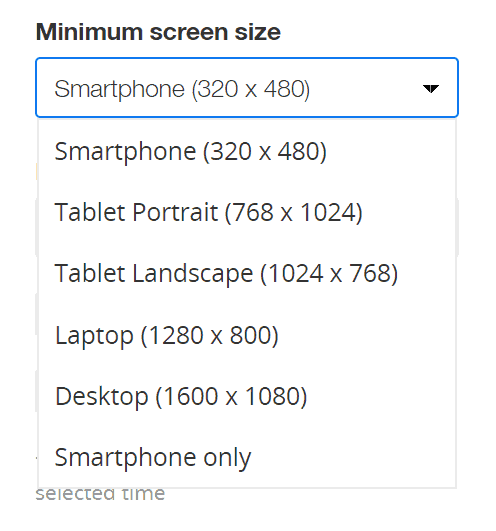
The Facebook Live Chat pop up is not overly intrusive on smaller devices, so I have stuck with the default shown above. However, it’s a good idea to check this on your website with a few different devices.
You can also select how often you would like the Facebook Live Chat tool to appear:
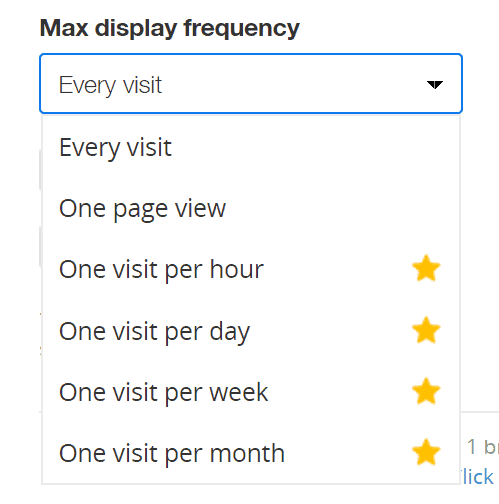
If you’re worried about annoying your website visitors, then you can limit the number of times the Facebook Live Chat tool appears.
Personally, I think it’s best to go with Every visit. You don’t want to confuse your website visitors by making it available part of the time.
Next, you can set date and time parameters to limit when this tool is displayed:
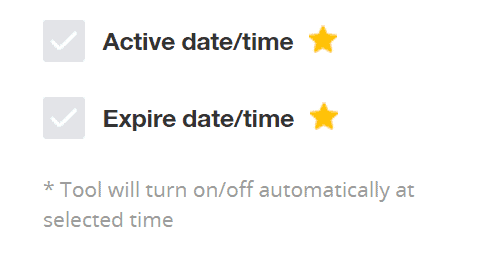
I would recommend that most businesses don’t set date and time limits. Most people understand that they won’t always receive a response in real time. I have responded to messages the following day multiple times without any issues. That said, it is best to respond in real time if possible – time-zones permitting!
Then you need to decide where you would like this tool to appear. Not on your website (that comes next) but geographically:
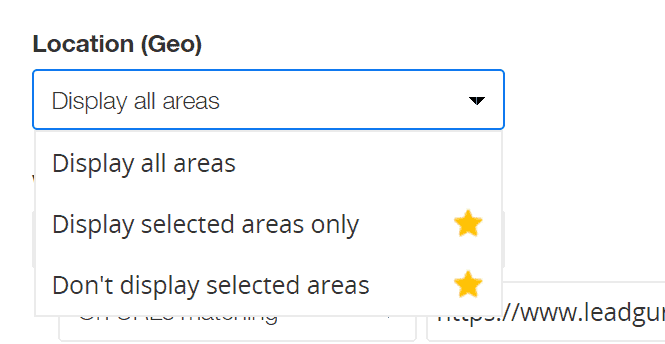
A lot of businesses will want to go with Display all areas. However, if you generate a lot of traffic from countries that you don’t do business in, you may save yourself time and money by adding some restrictions here.
Finally, you need to decide where on your website you would like the Facebook Live Chat tool to display:

You can select certain pages that you would like it to be shown on or exclude pages that you don’t want it to be shown on.
As you can see I have selected 3 pages that I do not want the Facebook Live Chat tool to pop up on my website. All three are opt-in pages, and I have excluded this tool from those pages because I don’t want it to distract people from opting in.
What you select here will obviously depend on the website and the products/services you offer. You may or may not want it to appear on sales pages for example.
One important thing to note is that you probably don’t want to display this tool on pages that you are driving traffic to with Facebook or Google ads. Both ad platforms don’t like advertisers to use pop ups on their landing pages. At the least this tool would negatively impact your Facebook ads relevance score and could even lead to an account suspension. However, there’s no issue putting it on the rest of your website.
Conclusion
Increasing website visitor value can be a fast and effective way to drive more revenue and increase the profitably of your digital marketing campaigns.
Using Facebook Messenger as a live chat tool on your website can be great way to increase website visitor value. Answering questions and objections that your prospects have in real time will almost certainly lead to more sales.
Zotabox offer a free Facebook Live Chat tool that is very easy to set up and use. This article provides step-by-step instructions on how to install and set up Zotabox on your website.
What do you think? Have you used Facebook Live Chat on your website? What tips can you offer? Please share your thoughts in the comments below.
Stephen Greene
Hello,
If you accept guest posts, how much would you charge? What kind of content would you accept?
Stephen
Ben Heath
Hi Stephen,
Thanks for getting in touch. We aren’t currently accepting guest posts I’m afraid.
Best of luck with everything. Ben